‘Did You Know’ Episode 4 – Nailer Recommendation for Engineered Flooring

Posted on

Episode 4 – Nailer Recommendation for Engineered Flooring.

Within many flooring companies, it has become standard to install laminated flooring with a 20 gauge flooring stapler or ‘floor runner’. While engineered flooring may sometimes be confused with being “laminated”, they are different materials and cannot be installed with the same fastener.

Most laminated floors are thinner (1/4” – 1/2”) and constructed of a composite material that may require a thin gauge staple so that the fastener does not telegraph into the face of the material. Engineered flooring is usually constructed of plies of plywood or sometimes fillets and glued together in opposing layers. The final material thickness can range from 3/8” to 3/4”. With this additional thickness, a 20 gauge flooring stapler that may be sufficient for a laminate floor will not have the holding power to properly fasten an engineered floor.

The main reason this is not a suitable fastener is because a 20 gauge ‘floor runner’ can only accept a staple length of 1”. Inserting a 1” staple at the industry standard of 45 degrees into a 9/16” flooring, you are only penetrating into the subfloor about a 1/16 of an inch. This is not nearly enough holding power to hold down hardwood flooring and will come loose from the subfloor when that floor goes through any seasonal changes.

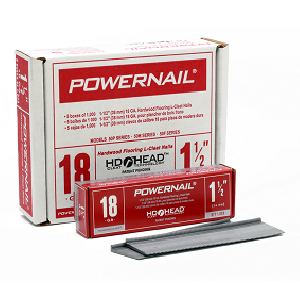
A common recommended fastener for engineered flooring is an 18 or 20 gauge staple or cleat in a nailer that will accept a fastener length up to 1-1/2”. There are many manufactures that make a gun that will accept these fasteners. Two nailers we have seen to be very versatile are the Powernail 50P and 50F that are pictured below.

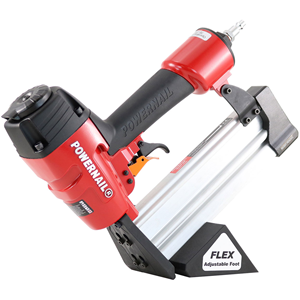
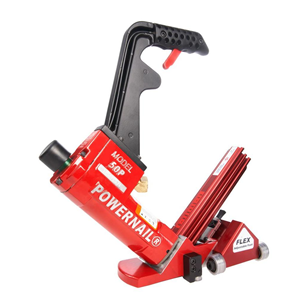
The 50P and 50F are 18 gauge cleat nailers that have many options, but one particular option that makes these guns versatile is the option to adjust the foot to the flooring thickness you are working with. The 50P is mallet actuated and the 50F a trigger pull, both will fasten flooring from 3/8” to 3/4”, utilizing a cleat 1” to 1-3/4” in length, allowing for the correct fastener penetration into the subfloor.

On the opposite side of this concern, using a standard hardwood flooring fastener (15.5 gauge staple or 16 gauge cleat) on engineered flooring may provide the correct subfloor penetration, but you will risk the fastener telegraphing through the surface of flooring.

As always, check with the installation guidelines of the material you are working with as most flooring manufactures have suggested guns to install their flooring. You may find that most recommend the 50P or 50F.

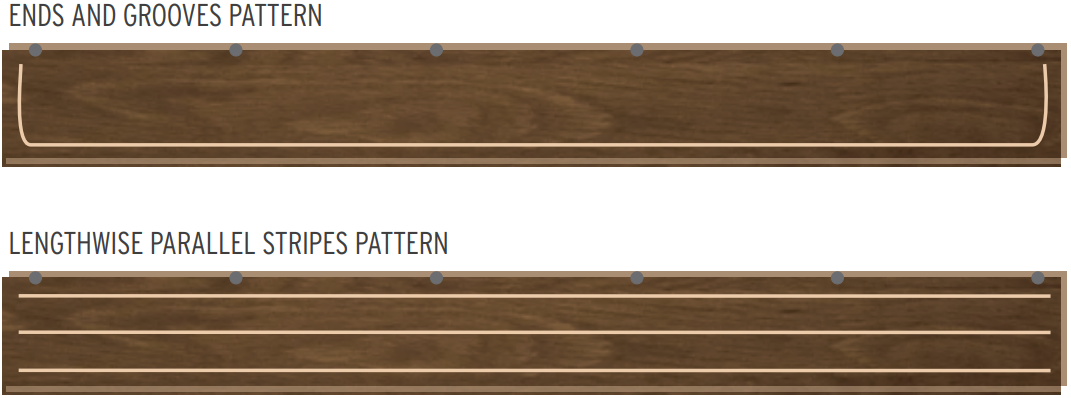
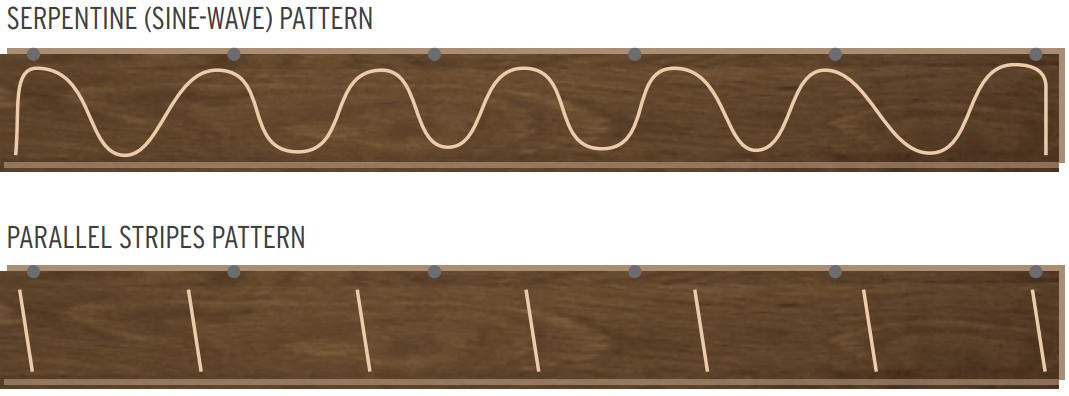
In addition to utilizing the correct fastener, you may also want to read one of our other episodes; Episode 1 – Adhesive Assist with Fastener to aid in the fastening of the wider engineered floors.

Additional information can be acquired from the manufacturer’s technical department of the products used on your floor. The National Wood Floor Association (NWFA) can be an additional resource. They can be reached at 800-422-4556 or online at www.woodfloors.org.


Quick links to the products mentioned in this episode…


Did you know Gehl Flooring Supply also provides underlayments for hardwood flooring installations? Check out our additional product offerings by clicking on the categorical menu bar at the top of this page.

‘Did You Know’ Episode 1 – Adhesive Assist with Fastener

Posted on

Episode 1 – Adhesive Assist with Fastener.

Hardwood flooring is manufactured in many widths and cuts to provide a multitude of design opportunities per species of hardwood. One of which is wide plank floors 4” and greater and is chosen for the beauty and presence it brings to a room. Depending on the situation, you may be installing prefinished or site finished; engineered or solid flooring to meet the design the customer is requesting.

In most situations, utilizing the correct cleat or staple may be sufficient to fasten the flooring to the subfloor. This is evident in the manufacture’s installation guidelines as they may not recommend any additional holding of the flooring in addition to their recommended fastener.

Parts of the country see more extreme temperature and humidity swings between the summer and winter months. If correct living conditions are not maintained in the home, the flooring may be stressed and you may start to see unsightly gaps, fasteners starting to work free from the subfloor and possible cracking and popping sounds as you walk across the floor (see Info Bulletin #20). The best way to minimize the possibility of this happening is to add an adhesive assist to the fastening method. From the manufactures point of view, this extra holding power may not be necessary for the country as a whole but can be added security for a successful installation on jobs where these drastic swings in the climate exist.

An adhesive assist can be achieved in two different ways. The main goal is to add additional holding power in addition to the mechanical fastener. Below is a quick description on the ways to achieve this:

Option 1

Using a hardwood flooring elastomeric tube adhesive (like these or equivalent) applied in strips onto the subfloor or the back of each board prior to nailing in each row. The NWFA lists a few common application methods. Choosing one of the methods from the below image will add additional holding power to minimize the possibility of squeaks, crackling and popping as the floor goes through seasonal changes.


When using the glue-assist method, you will no longer be able to install a traditional sheet-good vapor retarder. When nailing down wood flooring over a conditioned space that is maintained at the same conditions as the living/interior space, no vapor retarder is necessary. Wood floors installed in these conditions may be nailed with a glue-assist directly to the subfloor without use of a vapor retarder. Where wood flooring is being installed over unconditioned space, use of a liquid-applied, or similar Class II vapor retarder that is compatible with the flooring adhesive may be used to allow for a glue-assist directly to the subfloor.

IMPORTANT: When using a trigger-activated flooring nailer with the glue assisted installation method, the installer must either stand on the floor, or apply a downward pressure to the surface of each board as it is being nailed. This will ensure the flooring does not lift away from the subfloor causing unnecessary vertical movement or hollow noises.

Option 2

Using a full spread method utilizing a hardwood flooring adhesive. With this method, you would not need to use the standard adhesive trowel size that would be required to perform a full glue down application as you also have fasteners assisting the installation. A smaller notch trowel would be sufficient as long as you maintain the standard fastener schedule. This method also requires the removal of the paper vapor barrier. Your adhesive will act as the vapor retarder.

One of the above mentioned adhesive assist methods can be used on any hardwood flooring, solid or engineered and best used when the width of floor exceeds 4”. Even with the added holding power this may offer, the floor owner will still have to maintain correct temperature and humidity conditions for best performance of their floor and to maintain the manufacture’s warrantee.

Additional information can be acquired from the manufacturer’s technical department of the products used on your floor. The National Wood Floor Association (NWFA) can be an additional resource. They can be reached at 800-422-4556 or online at www.woodfloors.org.


Quick Links to the products mentioned in this episode…